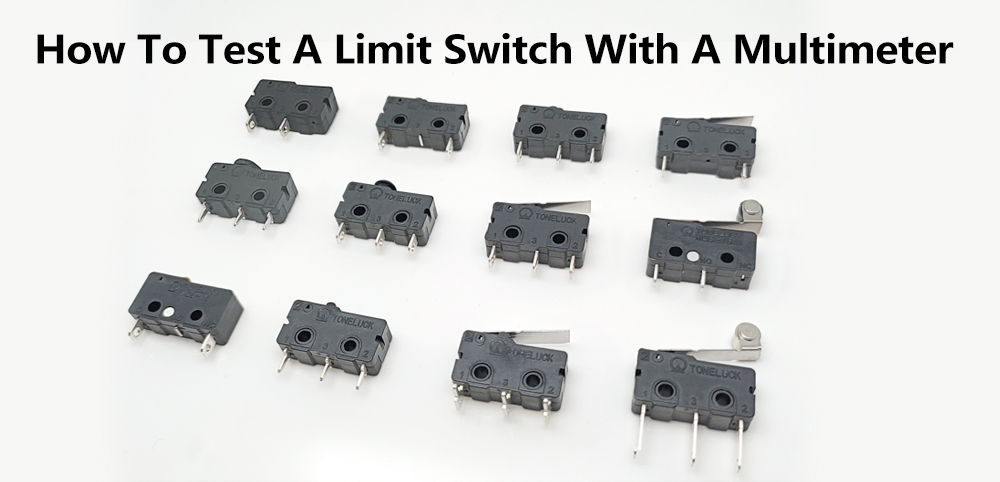
Do you find yourself struggling to troubleshoot issues with your electrical equipment? Are you unsure how to test a limit switch with a multimeter? Look no further! In this comprehensive guide, we will walk you through the step-by-step process of testing a limit switch using a multimeter, providing you with the confidence and expertise to diagnose and resolve any electrical problems you may encounter. A limit switch is a crucial component in many devices, ensuring safe and efficient operation. By learning how to effectively test a limit switch, you can easily identify any faults or malfunctions, saving you time, effort, and costly repairs. With our clear instructions and practical tips, you’ll become a pro at using a multimeter to diagnose limit switch issues in no time. So, let’s dive in and equip ourselves with the knowledge to tackle any electrical troubleshooting challenge head-on!

Understanding the Function of a Limit Switch
Before we dive into the testing process, it’s essential to understand the role and function of a limit switch. A limit switch is a small device that is commonly used in various electrical equipment and machinery. Its main purpose is to detect the presence or absence of an object, such as a physical limit or a specific position, and send a signal to the control system to initiate a specific action. Limit switches are commonly found in industrial applications, home appliances, and even automotive systems.
A limit switch usually consists of an actuator lever or roller, a switch mechanism, and a housing. When the actuator lever or roller comes into contact with an object, it triggers the switch mechanism, which in turn, completes or breaks the electrical circuit. This action allows the control system to respond accordingly, either by turning off a motor, activating an alarm, or performing any other desired function.
Understanding the function of a limit switch is crucial for troubleshooting electrical issues. By testing the limit switch with a multimeter, you can determine if it is functioning correctly or if it needs to be replaced.
What is a Multimeter and How Does It Work?
Before we jump into the testing process, let’s briefly discuss what a multimeter is and how it works. A multimeter, also known as a volt-ohm meter (VOM), is a versatile electrical testing device used by professionals and hobbyists alike. It combines several essential measurement functions into one portable device, including voltage, current, and resistance.
A typical multimeter consists of several components, such as a digital or analog display, selection knobs, input jacks, and test leads. The display provides a readout of the measured values, while the selection knobs allow you to choose the desired measurement function and range. The test leads, which are typically color-coded, are used to connect the multimeter to the circuit or component you want to test.
To use a multimeter, you need to select the appropriate measurement function and range, connect the test leads to the circuit or component, and observe the displayed value on the screen. Multimeters can be set to measure voltage, current, resistance, and even capacitance, frequency, or temperature, depending on the model and capabilities.
Now that we have a basic understanding of a multimeter, let’s explore why testing a limit switch with a multimeter is essential.
Why Test a Limit Switch with a Multimeter?
Testing a limit switch with a multimeter is a crucial step in troubleshooting electrical issues. It allows you to determine if the limit switch is functioning correctly or if it is the root cause of a problem. Here are a few reasons why testing a limit switch with a multimeter is important:
1. Verification of electrical continuity
A limit switch should provide a closed circuit when the actuator lever or roller is in contact with the object it is supposed to detect. By testing the limit switch with a multimeter, you can verify if it provides electrical continuity, ensuring that the control system receives the correct signal.
2. Identification of faulty switches
Over time, limit switches can become worn out or damaged due to various factors, such as excessive usage, environmental conditions, or mechanical stress. Testing the limit switch with a multimeter can help identify faulty switches that may need to be replaced.
3. Confirmation of switch operation
Limit switches are often used in critical applications where safety and precise control are essential. By testing the limit switch with a multimeter, you can confirm that it is operating within the specified parameters, ensuring reliable and accurate performance.
4. Time and cost-saving
By identifying faulty limit switches early on, you can avoid unnecessary troubleshooting and potential damage to other components. Testing a limit switch with a multimeter can save you time, effort, and costly repairs in the long run.
